Fabulous Fava Beans – a slide show

2 06 2009
Half-filling the bucket the beans

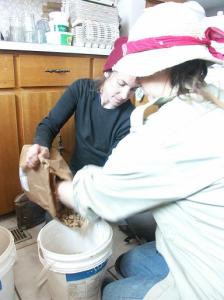
Half-fill a bucket with Fava beans

Add water to the bucket to cover the beans
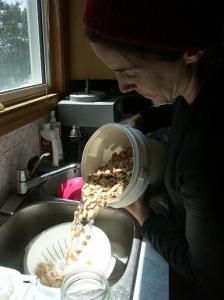
Add water to the bucket to cover the beans

Quickly drain off the water leaving the fava beans wet but not soaked
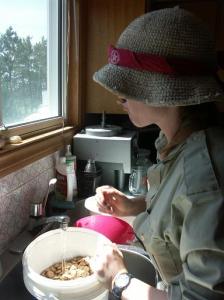
Quickly drain off the water leaving the fava beans wet but not soaked

Ideally do this while balancing a fava bean on your top lip
Ideally do this while balancing a fava bean on your top lip

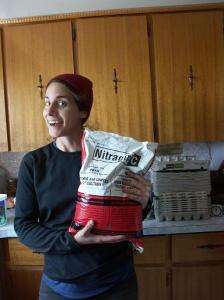
Bacterial Inoculant, purchased from the Farmers Co-op
Bacterial Inoculant, purchased from the Farmers Co-op

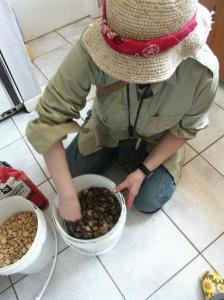
Add a couple of tablespoons full and stir in well
Add a couple of tablespoons full and stir in well

Weed your planting bed well
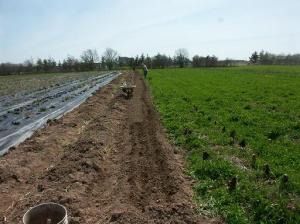
Weed your planting bed well

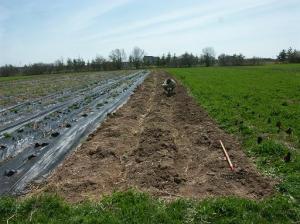
Fava beans get jammed up in the Earthway seeder so make furrows using a long handled E-Z digger

Fava beans get jammed up in the Earthway seeder so make 2 furrows using a long handled E-Z digger
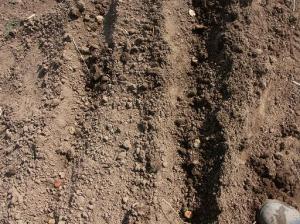
Place the fava beans into the furrows at a 6 inch spacing
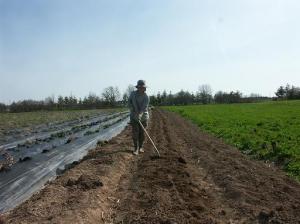
Place the fava beans into the furrows at a 6 inch spacing

Cover the seed using the E-Z digger

Cover the seed using the E-Z digger

Celebrate having planted exactly 1234 row foot of fava beans!
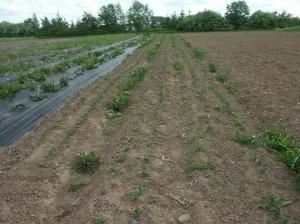
Celebrate having planted exactly 1234 row foot of fava beans!

Three weeks later and they are up

Three weeks later and they are up


Potatoes in a Barrel

2 06 2009

Growing potatoes in a potato growing area is a real challenge because of the high risk of blight and the shear number of Colorado potato beetles to contend with. The best way to ensure you actually get a crop is to shelter them from the risk factors and feed them really well, so we have decided to experiment with growing potatoes in a barrel this year as well as growing them the usual way.

I won’t be around to see the results unfortunately but here is how you set the system up.

  1. A couple of weeks before you plan on planting your potatoes, place them in the basement in the dark with a little bit of light for their sprouts to grow towards. Any large potatoes can be cut into smaller pieces (chitted), just make sure that you have at least one eye on each piece. ‘Green Sprouting’ gives the potatoes a headstart when you plant them… though you will lose this advantage if you accidentally knock the sprouts off when you plant them. 
    'Chitted' potatoes

    'Chitted' potatoes


  2. Take your barrels and drill holes in the bottom of it for drainage in rainy conditions (for this reason if you have a choice of barrels, choose the ones that already leak!) 
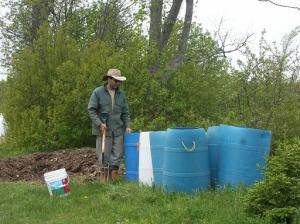
    Rain barrels

    Rain barrels


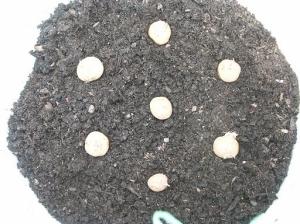
  3. Put a 6 inch layer of good quality compost in the bottom of the barrels and then place your potatoes on top of the compost allowing 6 inches in all directions. 
    'no-dig' planting

    'no-dig' planting


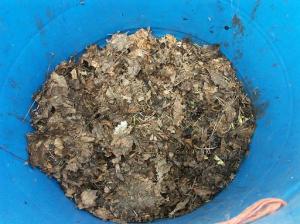
  4. Cover with a layer of compost, leaves, peat etc (whatever you have to hand). I think that compost would be overkill given that they are already sitting on pure compost so we are using leaves.
  5. As the potato stalks start to poke up through the leaves cover them again and keep covering them until they start to flower. Once they are done flowering wait a couple of weeks and then tip your barrel over to harvest your potatoes.
    20090528 012